

Visits: 0
Introduction
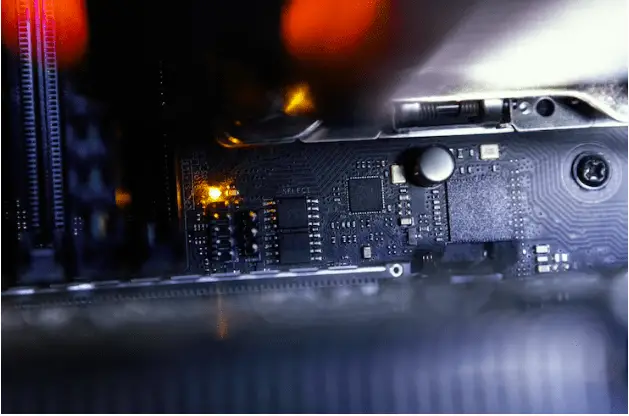
NVMe (Non-Volatile Memory Express) SSDs have revolutionized storage technology, offering lightning-fast speeds and improved performance compared to traditional hard drives. Whether you want to upgrade your desktop or laptop, installing an NVMe SSD can significantly enhance your system’s speed and responsiveness. In this SEO-optimized post, we will provide you with a comprehensive, step-by-step guide on how to install an NVMe SSD in both a desktop and laptop, ensuring a smooth and successful installation process.
Step 1: Preparing for the Installation
Before diving into the installation process, make sure you have the following tools and equipment:
- NVMe SSD: Purchase a compatible NVMe SSD that meets your storage requirements.
- Screwdriver: You may need a small Phillips or Torx screwdriver, depending on your system’s requirements.
- User Manual: Refer to the user manual or manufacturer’s instructions for your desktop or laptop model.
Step 2: Desktop Installation
Follow these steps to install an NVMe SSD in a desktop:
- Power Off and Disconnect: Shut down your desktop and unplug the power cord. Disconnect all cables and peripherals.
- Open the Case: Remove the side panel of your desktop case to access the internal components. Refer to your computer’s user manual for specific instructions on case removal.
- Locate the M.2 Slot: Identify the M.2 slot on your motherboard. It is typically located near the CPU socket, labeled as M.2 or SSD.
- Insert the NVMe SSD: Gently insert the NVMe SSD into the M.2 slot at a slight angle. Ensure the gold connectors on the SSD align with the slot.
- Secure the SSD: Depending on your motherboard, you may need to secure the SSD with a screw or standoff. Use the appropriate screwdriver to fasten it gently.
- Replace the Case: Carefully put the side panel back onto the desktop case, ensuring it is securely attached.
- Reconnect and Power On: Reconnect all cables and peripherals. Plug in the power cord and power on your desktop.
Step 3: Laptop Installation
Here’s how to install an NVMe SSD in a laptop:
- Power Off and Disconnect: Turn off your laptop and unplug the power cord. Remove the battery if it is removable.
- Locate the Access Panel: Check your laptop’s user manual to identify the access panel for the storage drive. It is usually located on the bottom of the laptop.
- Remove the Access Panel: Unscrew the screws securing the access panel and carefully remove it. Set aside the screws in a safe place.
- Locate the M.2 Slot: Find the M.2 slot on the motherboard. It may be labeled or indicated in the user manual.
- Insert the NVMe SSD: Insert the NVMe SSD into the M.2 slot at a slight angle. Ensure the gold connectors align with the slot.
- Secure the SSD: If necessary, use the provided screw to secure the SSD in place. Tighten it gently to avoid damaging the motherboard.
- Replace the Access Panel: Put the access panel back in its original position and secure it with the screws.
- Reinstall the Battery: If you removed the laptop’s battery, insert it back into its slot.
- Power On: Plug in the power cord and turn on your laptop.
Conclusion
By following this step-by-step guide, you can easily install an NVMe SSD in both desktops and laptops. Upgrading your system’s storage with an NVMe SSD will significantly boost performance, providing faster boot times, quicker file transfers, and improved overall responsiveness. Remember
%20(1).png)

