


Visits: 0
How to Connect a Domain to a Server or Hosting
Introduction: Connecting a domain to a server or hosting is a fundamental step in launching a website or an online project. This process allows visitors to access your website using your custom domain name. In this guide, we’ll walk you through the steps to connect a domain to a server or hosting, making your website accessible to the world. How to Connect a Domain to a Server or Hosting
1: Choose a Domain Registrar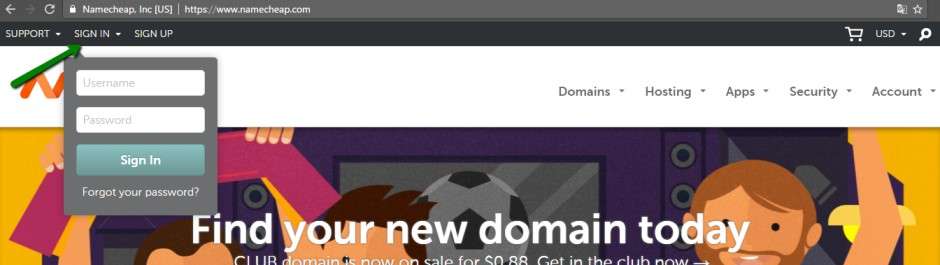
Before you can connect your domain to a server or hosting, you need to have a domain name. If you don’t already have one, choose a domain registrar (such as Namecheap, GoDaddy, or Google Domains) to purchase and manage your domain.
2: Select a Hosting Provider
Next, you’ll need to choose a hosting provider to host your website’s files. Popular options include Bluehost, SiteGround, and HostGator. Make sure the hosting provider offers the services you need and is compatible with your website’s technology stack.
3: Access DNS Settings
Once you’ve secured your domain and hosting, log in to your domain registrar’s website. Find the domain management or DNS settings section. Here, you can configure the DNS (Domain Name System) records that will direct your domain to the correct server.
4: Configure DNS Records
In the DNS settings, you’ll need to configure various DNS records:
- A Record: This record maps your domain to the server’s IP address. Input the IP address provided by your hosting provider.
- CNAME Record: If you want to set up subdomains, use CNAME records to map them to specific locations on your server.
- MX Record: If you want to use email services with your domain, set up MX records to point to your email hosting provider.
5: Wait for DNS Propagation
After configuring the DNS records, it may take some time for the changes to propagate across the internet. DNS propagation can take a few hours to a couple of days, depending on your domain registrar. During this time, some users may see your website on the new server, while others may still see the old version.
6: Test Your Setup
Before announcing your website’s launch, make sure to test your setup by accessing your domain in a web browser. Ensure that your website loads correctly and that all links and features are functional. If everything looks good, your domain is successfully connected to your server.
7: Update Nameservers (Optional)
In some cases, you may need to update the nameservers associated with your domain. Your hosting provider will provide you with the necessary nameserver information. This step is typically done during the initial setup process with your hosting provider.
Conclusion
Connecting a domain to a server or hosting is a crucial step in establishing your online presence. By following these steps and ensuring your DNS records are correctly configured, you can make your website accessible to visitors around the world. Keep in mind that the specifics of this process may vary depending on your domain registrar and hosting provider, so it’s essential to refer to their documentation for detailed instructions.
%20(1).png)

